

Windows版本的ffmpeg:
###注意,高版本可能必须要windows10以及以上才支持,win7估计是用不了的
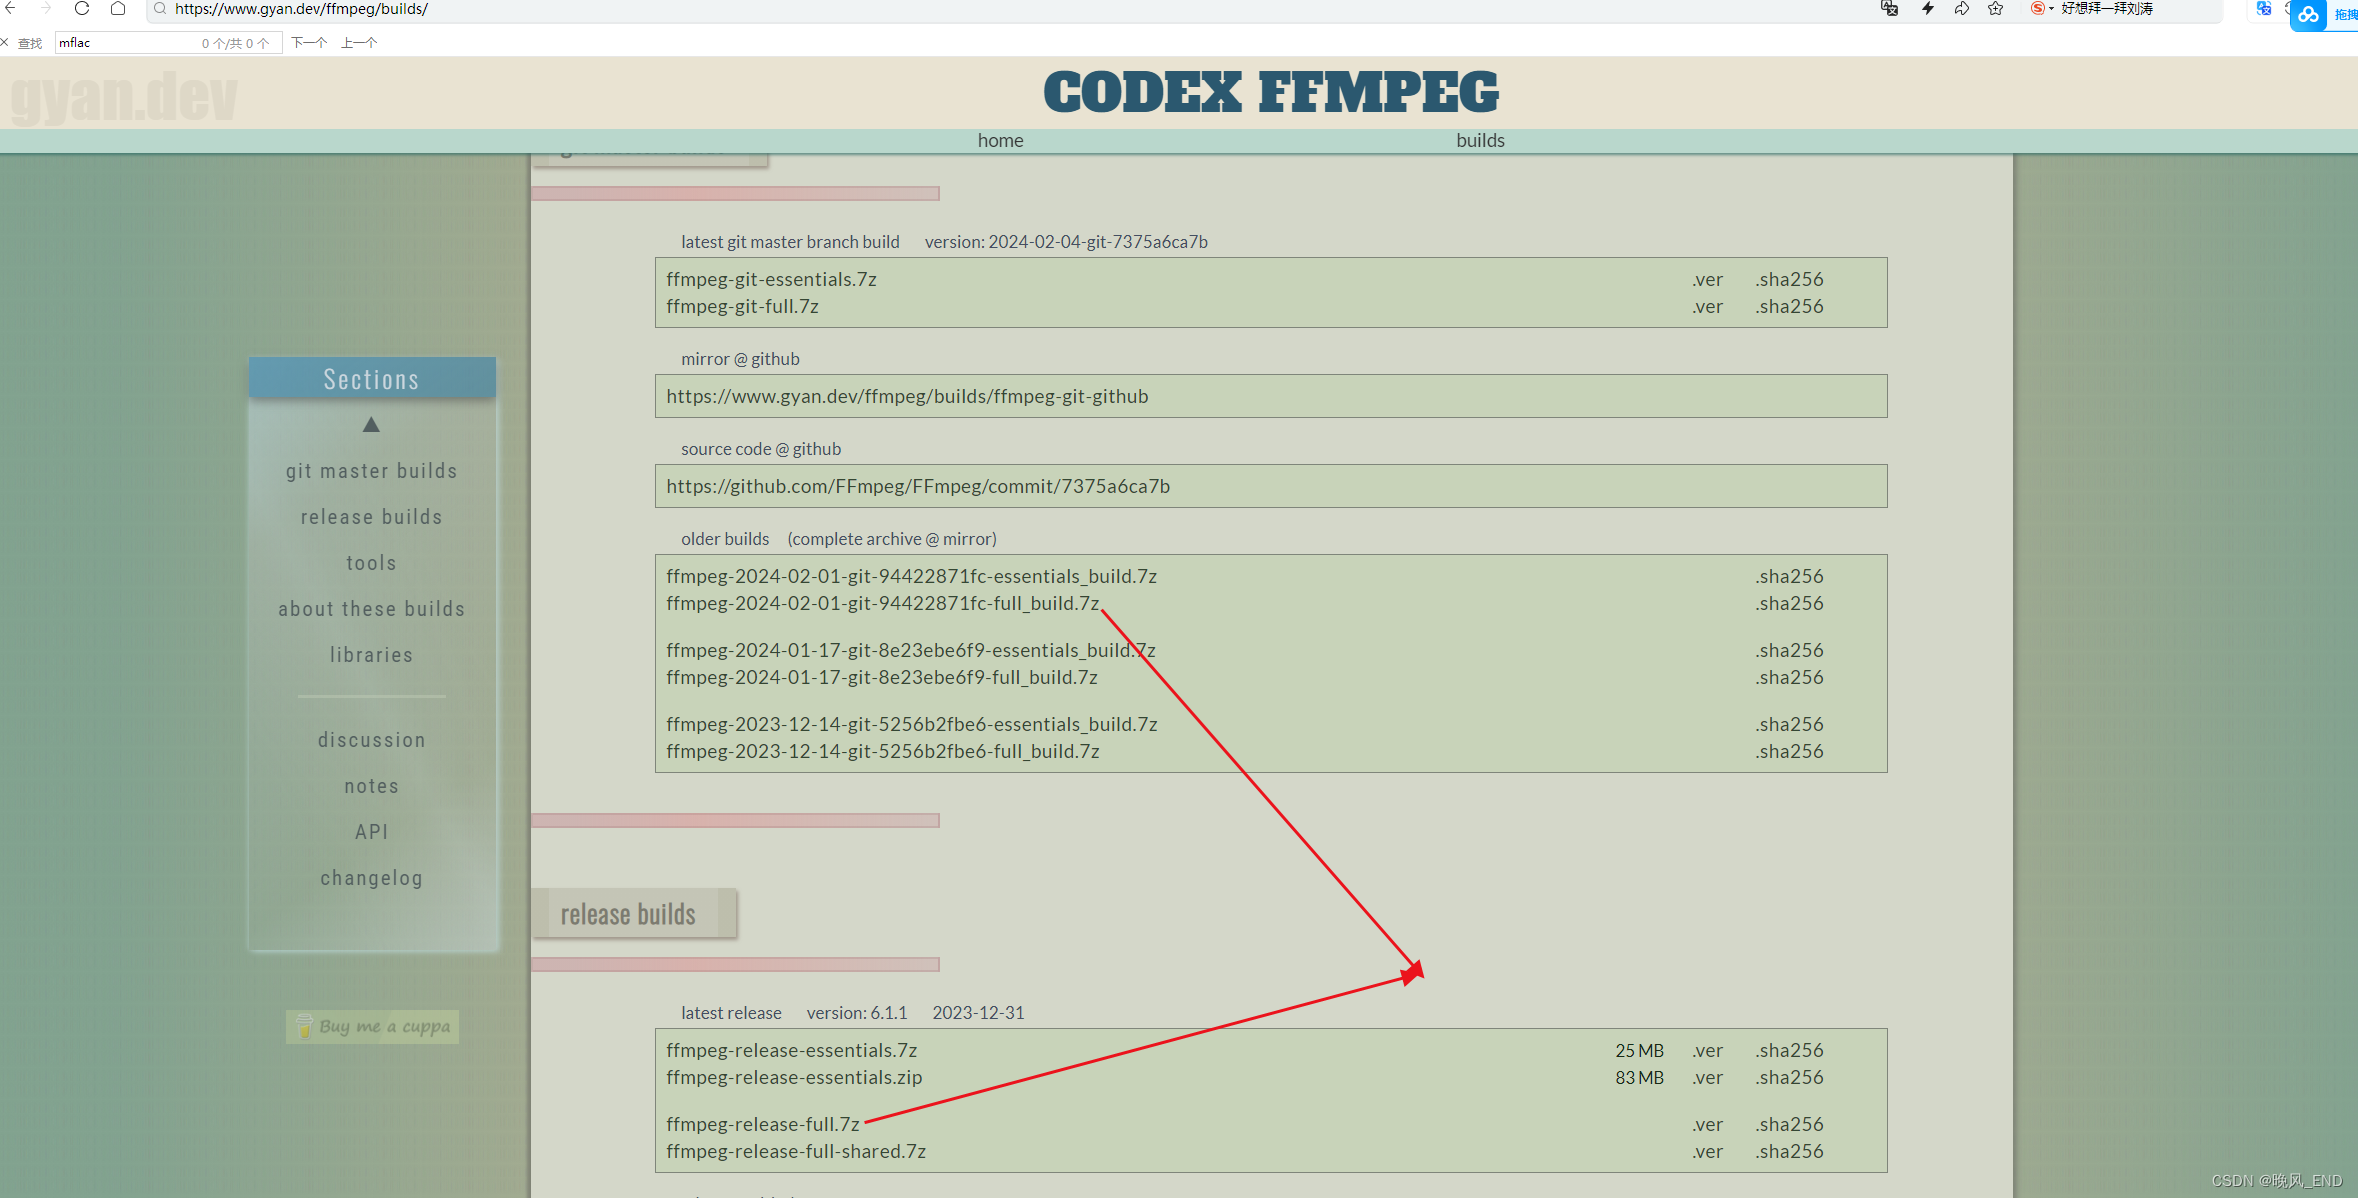
下载地址:Builds - CODEX FFMPEG @ gyan.dev
或者这个下载地址:https://github.com/BtbN/FFmpeg-Builds/releases
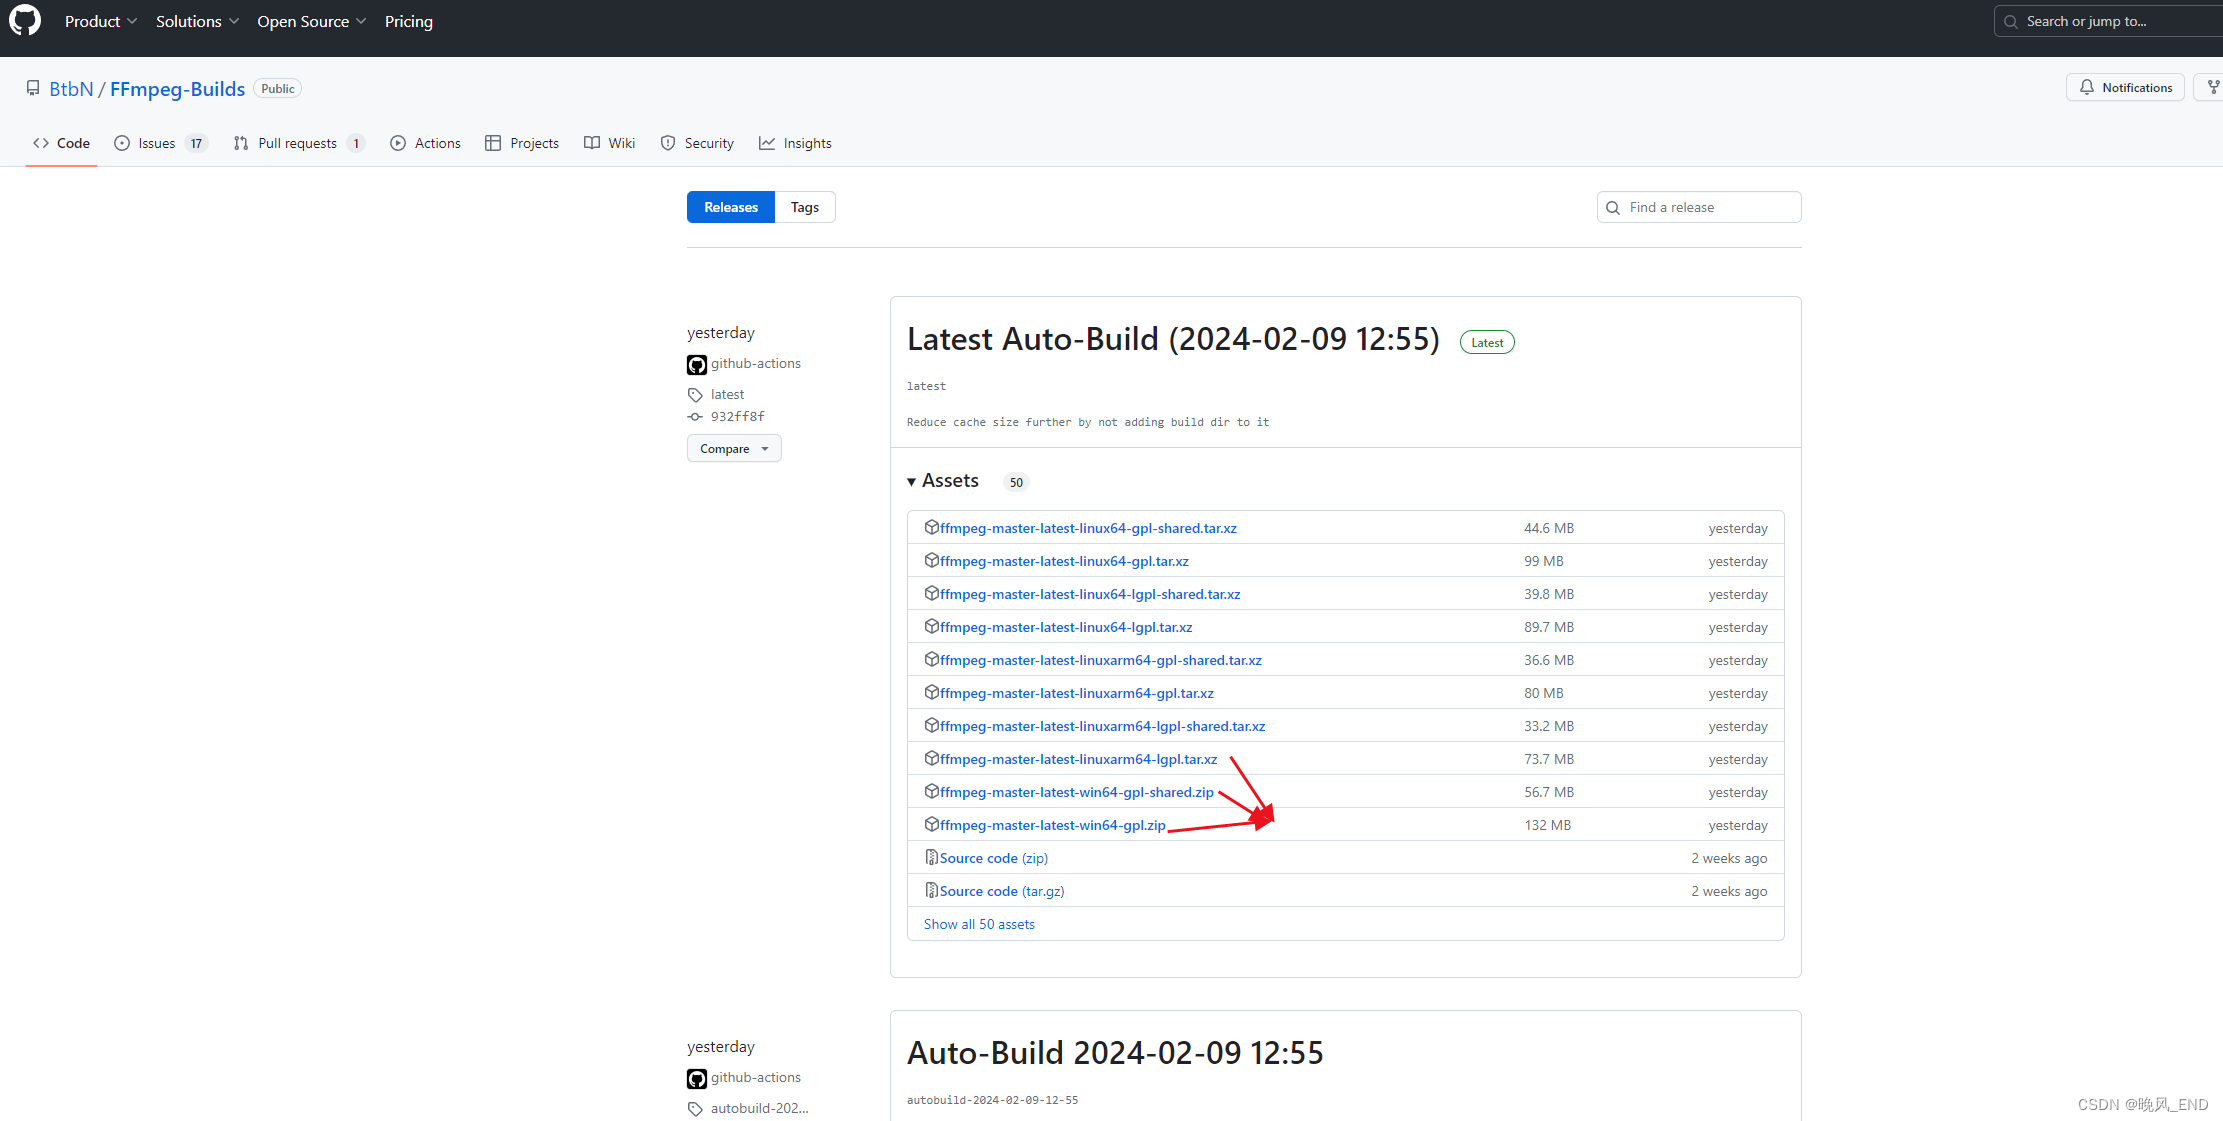
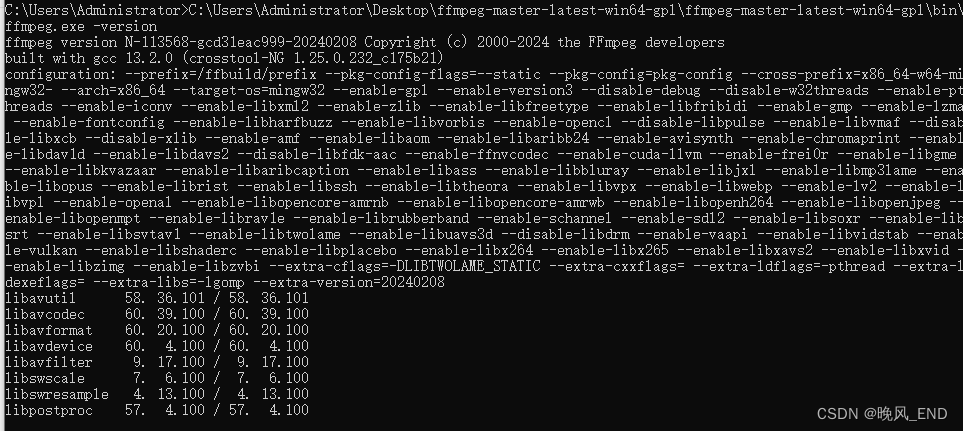
这两个网址下载的ffmpeg使用上基本没有区别,例如查看该ffmpeg所安装的依赖库,基本都是很全的这种

Linux版本的ffmpeg:
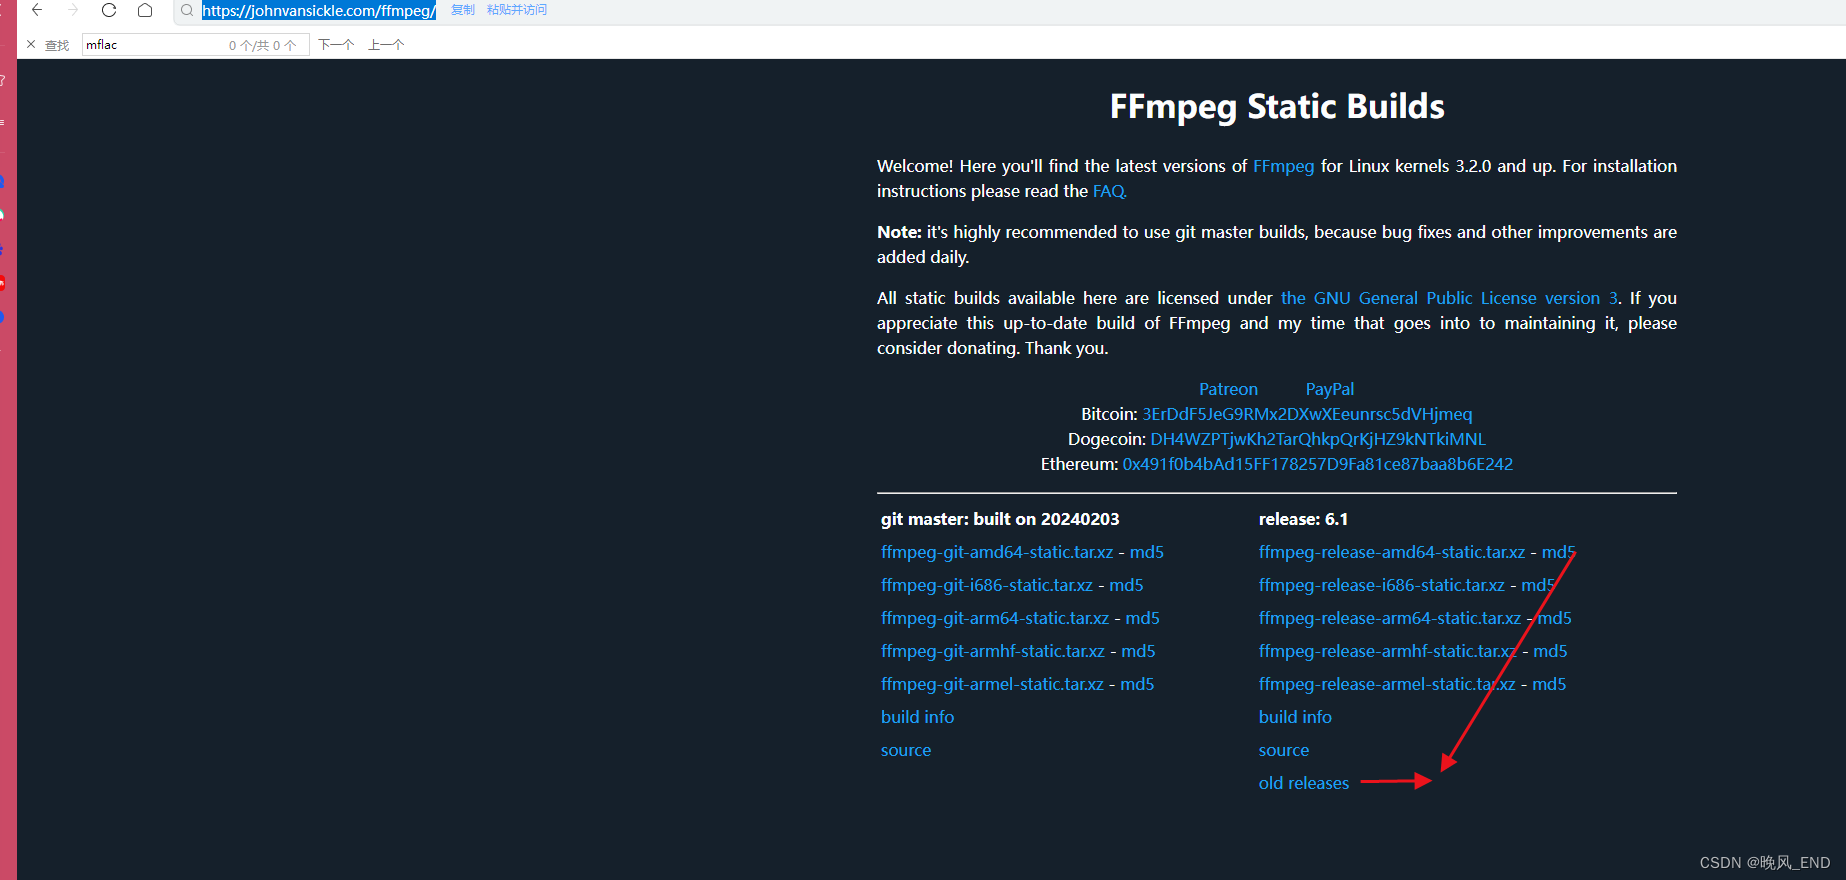
下载地址1:John Van Sickle - FFmpeg Static Builds
这个版本的二进制不需要任何设置,真正的开箱即用,直接丢到系统环境变量里就可以使用了,但需要注意,这个版本的是不包括ffplay 这个播放器的哦,需要自己编译
安装ffplay:
下载ffmpeg的源码,我下载的是FFmpeg-n6.1.1.zip,解压后,进入解压目录:
这样的编译是最简单的编译,先把epel源和阿里云centos7源添加好,然后编译就行了,编译出来的ffplay在/usr/local/bin目录下
45 wget -O /etc/yum.repos.d/epel.repo https://mirrors.aliyun.com/repo/epel-7.repo46 wget -O /etc/yum.repos.d/CentOS-Base.repo https://mirrors.aliyun.com/repo/Centos-7.repo47 yum install nasm libX11-devel libXext-devel SDL2 SDL2-devel SDL SDL-devel -y48 ls49 tar xf FFmpeg-n6.1.1.zip 50 yum install unzip -y51 unzip FFmpeg-n6.1.1.zip 52 cd FFmpeg-n6.1.153 ls54 ./configure --enable-gpl --enable-ffplay55 make && make install
下载地址2:Releases · BtbN/FFmpeg-Builds · GitHub
这个版本的二进制需要安装依赖,好像是动态编译出来的,包含有ffmpeg的所有,也就是ffmpeg,ffplay,ffprobe
下面讲一讲如何使用这个版本的ffmpeg
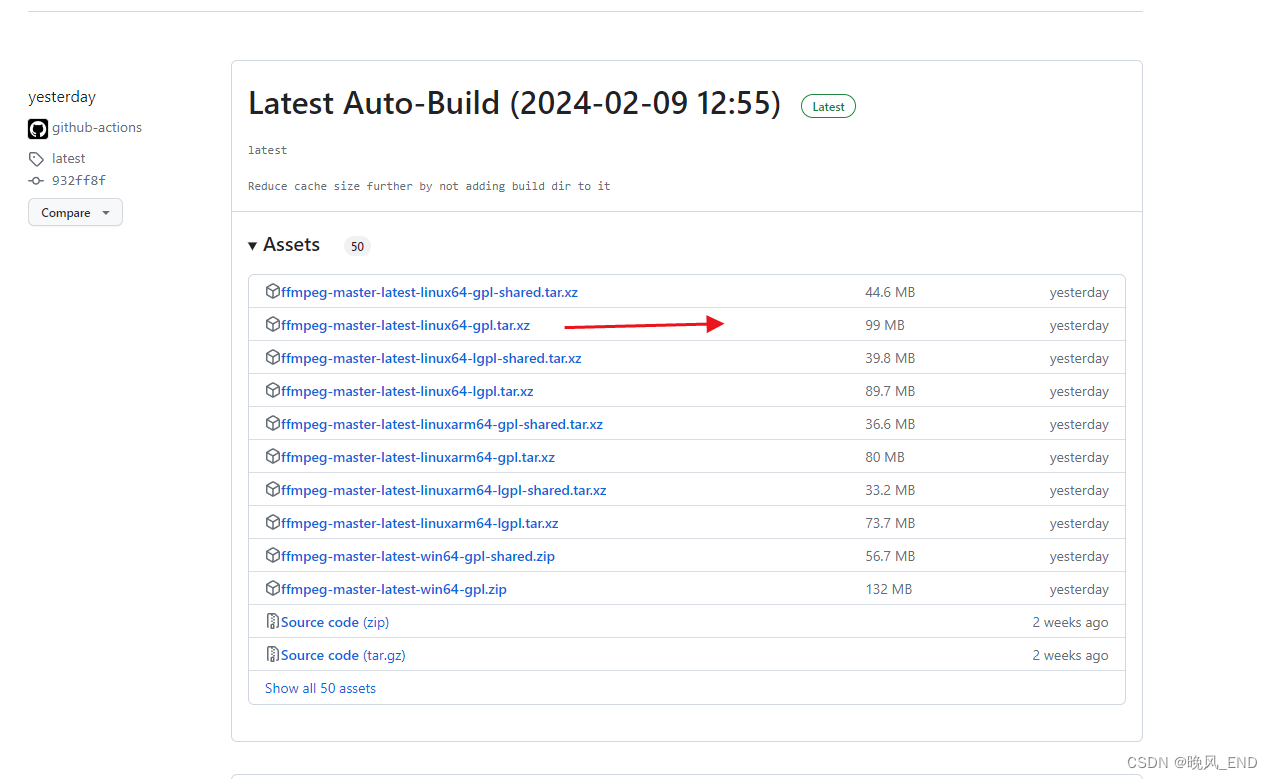
1,
上述的gpl版本ffmpeg下载完毕后,进入解压目录:
[root@centos10 ffmpeg-master-latest-linux64-gpl]# ls -alh ~/ffmpeg-master-latest-linux64-gpl.tar.xz
-rw-r--r-- 1 root root 100M Feb 11 03:16 /root/ffmpeg-master-latest-linux64-gpl.tar.xz
[root@centos10 ffmpeg-master-latest-linux64-gpl]# pwd
/root/ffmpeg-master-latest-linux64-gpl
查看bin目录下的文件,利用ldd命令查询是否缺少运行所需的动态链接库:
[root@centos10 ffmpeg-master-latest-linux64-gpl]# pwd
/root/ffmpeg-master-latest-linux64-gpl
[root@centos10 ffmpeg-master-latest-linux64-gpl]# ldd bin/ffprobe
bin/ffprobe: /lib64/libm.so.6: version `GLIBC_2.23' not found (required by bin/ffprobe)
bin/ffprobe: /lib64/libc.so.6: version `GLIBC_2.18' not found (required by bin/ffprobe)linux-vdso.so.1 =>  (0x00007ffcc877e000)libm.so.6 => /lib64/libm.so.6 (0x00007f06c32ce000)libdl.so.2 => /lib64/libdl.so.2 (0x00007f06c30ca000)librt.so.1 => /lib64/librt.so.1 (0x00007f06c2ec2000)libpthread.so.0 => /lib64/libpthread.so.0 (0x00007f06c2ca6000)libc.so.6 => /lib64/libc.so.6 (0x00007f06c28d8000)/lib64/ld-linux-x86-64.so.2 (0x00007f06cc69c000)libgcc_s.so.1 => /lib64/libgcc_s.so.1 (0x00007f06c26c2000)libmvec.so.1 => not found
从上述查询可以看到,缺少glibc也就是gcc的lib库和libmvec,并且对glibc版本有要求,必须大于2.23
如果glibc编译成功,会在/usr/lib64目录下找到最新的libc.so(还有libc.so.6和libc-2.23.so)和libmvec.so(还有libmvec.so.1和libmvec-2.23.so)等库文件
2,
要求glibc版本不低于2.22,但是不宜安装过高版本的glibc,因为较高版本的glibc依赖于python,去整python环境又得费一番功夫,所以弄个比2.22稍高一点的2.23版就够了
glibc下载地址:http://ftp.gnu.org/gnu/glibc/glibc-2.23.tar.gz
下载完毕后,将该文件上传到服务器并解压,解压后进入解压目录,执行以下命令开始编译,但编译前最好使用高版本的gcc,例如gcc9
[root@centos10 glibc-2.23]# mkdir build
[root@centos10 glibc-2.23]# cd build/
[root@centos10 build]# pwd
/root/glibc-2.23/build../configure --prefix=/usr --disable-werror
make
make install
中间有两个报错,第一个是这个报错:
Error: `loc1@GLIBC_2.2.5' can't be versioned to common symbol 'loc1'Error: `loc2@GLIBC_2.2.5' can't be versioned to common symbol 'loc2'Error: `locs@GLIBC_2.2.5' can't be versioned to common symbol 'locs'解决方案为:
vim  ../misc/regexp.cchar *loc1 __attribute__ ((nocommon));
char *loc2 __attribute__ ((nocommon));
compat_symbol (libc, loc1, loc1, GLIBC_2_0);
compat_symbol (libc, loc2, loc2, GLIBC_2_0);/* Although we do not support the use we define this variable as well.  */
char *locs __attribute__ ((nocommon));loc1,loc2,locs 后面添加__attribute__ ((nocommon))
第二个是make install的时候报错:
error while loading shared libraries: /lib64/libm.so.6: invalid ELF header解决方案为:
LD_SO=ld-linux-x86-64.so.2 CC="gcc" /usr/bin/perl scripts/test-installation.pl /root/glibc-2.23/build/
Your new glibc installation seems to be ok.
make[1]: Leaving directory `/root/glibc-2.23'
[root@centos10 build]# echo $?
0
cd /lib64
rm -rf libm.so.6
ln -sf libm-2.23.so libm.so.6
最终编译成功,成功的日志末尾如下:
LD_SO=ld-linux-x86-64.so.2 CC="gcc" /usr/bin/perl scripts/test-installation.pl /root/glibc-2.23/build/
Your new glibc installation seems to be ok.
make[1]: Leaving directory `/root/glibc-2.23'
[root@centos10 build]# echo $?
0
🆗,编译完成后,就可以检查ffmpeg是否可以用了:
[root@centos10 build]# /root/ffmpeg-master-latest-linux64-gpl/bin/ffmpeg -version
ffmpeg version N-113585-g8c2e86ca28-20240209 Copyright (c) 2000-2024 the FFmpeg developers
built with gcc 13.2.0 (crosstool-NG 1.25.0.232_c175b21)
configuration: --prefix=/ffbuild/prefix --pkg-config-flags=--static --pkg-config=pkg-config --cross-prefix=x86_64-ffbuild-linux-gnu- --arch=x86_64 --target-os=linux --enable-gpl --enable-version3 --disable-debug --enable-iconv --enable-libxml2 --enable-zlib --enable-libfreetype --enable-libfribidi --enable-gmp --enable-openssl --enable-lzma --enable-fontconfig --enable-libharfbuzz --enable-libvorbis --enable-opencl --enable-libpulse --enable-libvmaf --enable-libxcb --enable-xlib --enable-amf --enable-libaom --enable-libaribb24 --enable-avisynth --enable-chromaprint --enable-libdav1d --enable-libdavs2 --disable-libfdk-aac --enable-ffnvcodec --enable-cuda-llvm --enable-frei0r --enable-libgme --enable-libkvazaar --enable-libaribcaption --enable-libass --enable-libbluray --enable-libjxl --enable-libmp3lame --enable-libopus --enable-librist --enable-libssh --enable-libtheora --enable-libvpx --enable-libwebp --enable-lv2 --enable-libvpl --enable-openal --enable-libopencore-amrnb --enable-libopencore-amrwb --enable-libopenh264 --enable-libopenjpeg --enable-libopenmpt --enable-librav1e --enable-librubberband --disable-schannel --enable-sdl2 --enable-libsoxr --enable-libsrt --enable-libsvtav1 --enable-libtwolame --enable-libuavs3d --enable-libdrm --enable-vaapi --enable-libvidstab --enable-vulkan --enable-libshaderc --enable-libplacebo --enable-libx264 --enable-libx265 --enable-libxavs2 --enable-libxvid --enable-libzimg --enable-libzvbi --extra-cflags=-DLIBTWOLAME_STATIC --extra-cxxflags= --extra-ldflags=-pthread --extra-ldexeflags=-pie --extra-libs='-ldl -lgomp' --extra-version=20240209
libavutil      58. 36.101 / 58. 36.101
libavcodec     60. 39.100 / 60. 39.100
libavformat    60. 20.100 / 60. 20.100
libavdevice    60.  4.100 / 60.  4.100
libavfilter     9. 17.100 /  9. 17.100
libswscale      7.  6.100 /  7.  6.100
libswresample   4. 13.100 /  4. 13.100
libpostproc    57.  4.100 / 57.  4.100
这些还没完,还需要Linux的桌面环境和SDK SDK2 这些才可以正常的播放音视频文件
yum install nasm libX11-devel libXext-devel SDL2 SDL2-devel SDL SDL-devel -y